Prepare a new paper in Moodle
For staff on how to set up a new paper in Moodle using Moodle Setup Wizard 1: Import Content and Edit Paper Settings.
- This page explains how to use Wizard 1: Import Content and Edit Paper Settings to set up a Moodle paper for the first time.
- You can also use Wizard 1 to Import content from one Moodle paper into another Moodle paper.
- See Edit paper settings for other paper-level settings.
Tutorial video
Step-by-step instructions
1. In the top right corner of the Moodle paper page, toggle Edit mode on.

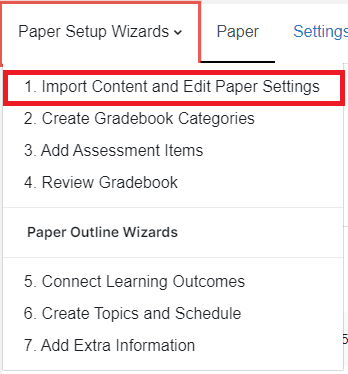
2. At the top left, select the Paper Setup Wizards tab to open the drop-down menu.

3. Select the first option, Import Content and Edit Paper Settings.
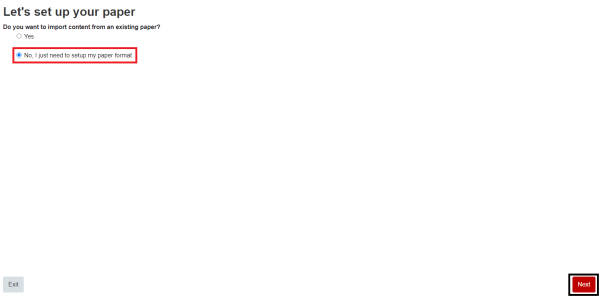
4. Select No, I just need to setup my paper format, then select Next at the bottom right of the page.
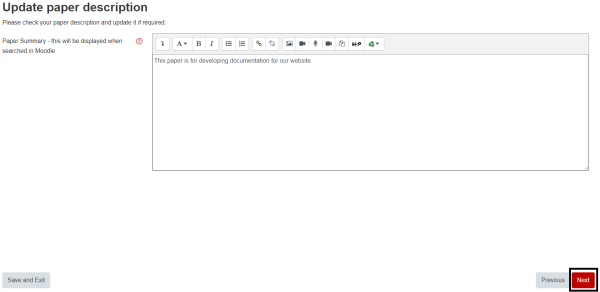
5. If required, Update Paper Description by typing in the Paper Summary text box, then select Next at the bottom right of the screen.
6. Select whether you want the central sections of your Moodle paper to be organised into Topics (Modules) or a Weekly format, then select Next at the bottom right of the screen. You can change your paper to the Tiles format via the Settings tab.
Note: We do not recommend using any of the two options listed in Show more..., as they may disappear in the future.

7. Select whether your sections will be Short or Long, then select whether you want to Show one section per page or Show all sections on one page, then select Next at the bottom right of the screen.

Note:
Most papers at UoW use the Show all sections on one page option.
8. Enter the number of topics or weeks for your paper, then select Confirm at the bottom right.

Note:
You can add or delete topics or weeks after you have set up your paper.
9. Finally, select Complete at the bottom right to go back to your paper's Moodle homepage and start creating content.
